Waxing Car Using Buffer: What You Must Know For Beginners
Waxing Car Using Buffer: What You Must Know For Beginners
The art of waxing your car using buffer can significantly decrease the amount of time it takes to apply wax to your car unless you like the old-fashioned method of using elbow grease to wax your car without buffers. It also gives your paint a shiny finish that will make your car look stunning!
The following steps are an easy step-by-step process for people who want to learn how to wax an automobile using a buffer.
- Get the Materials You Need
- Prepare the Surface
- Apply the Wax
- Buff the Surface
- Remove the Wax
While the process may seem daunting, especially for novices, however, it's not difficult to master the art of waxing your car using a buffer.
How To Wax A Car With A Buffer
The process of waxing your car using the machine buffer isn't an arduous process. It can actually reduce time as compared to doing it manually.
Prepare the Surface
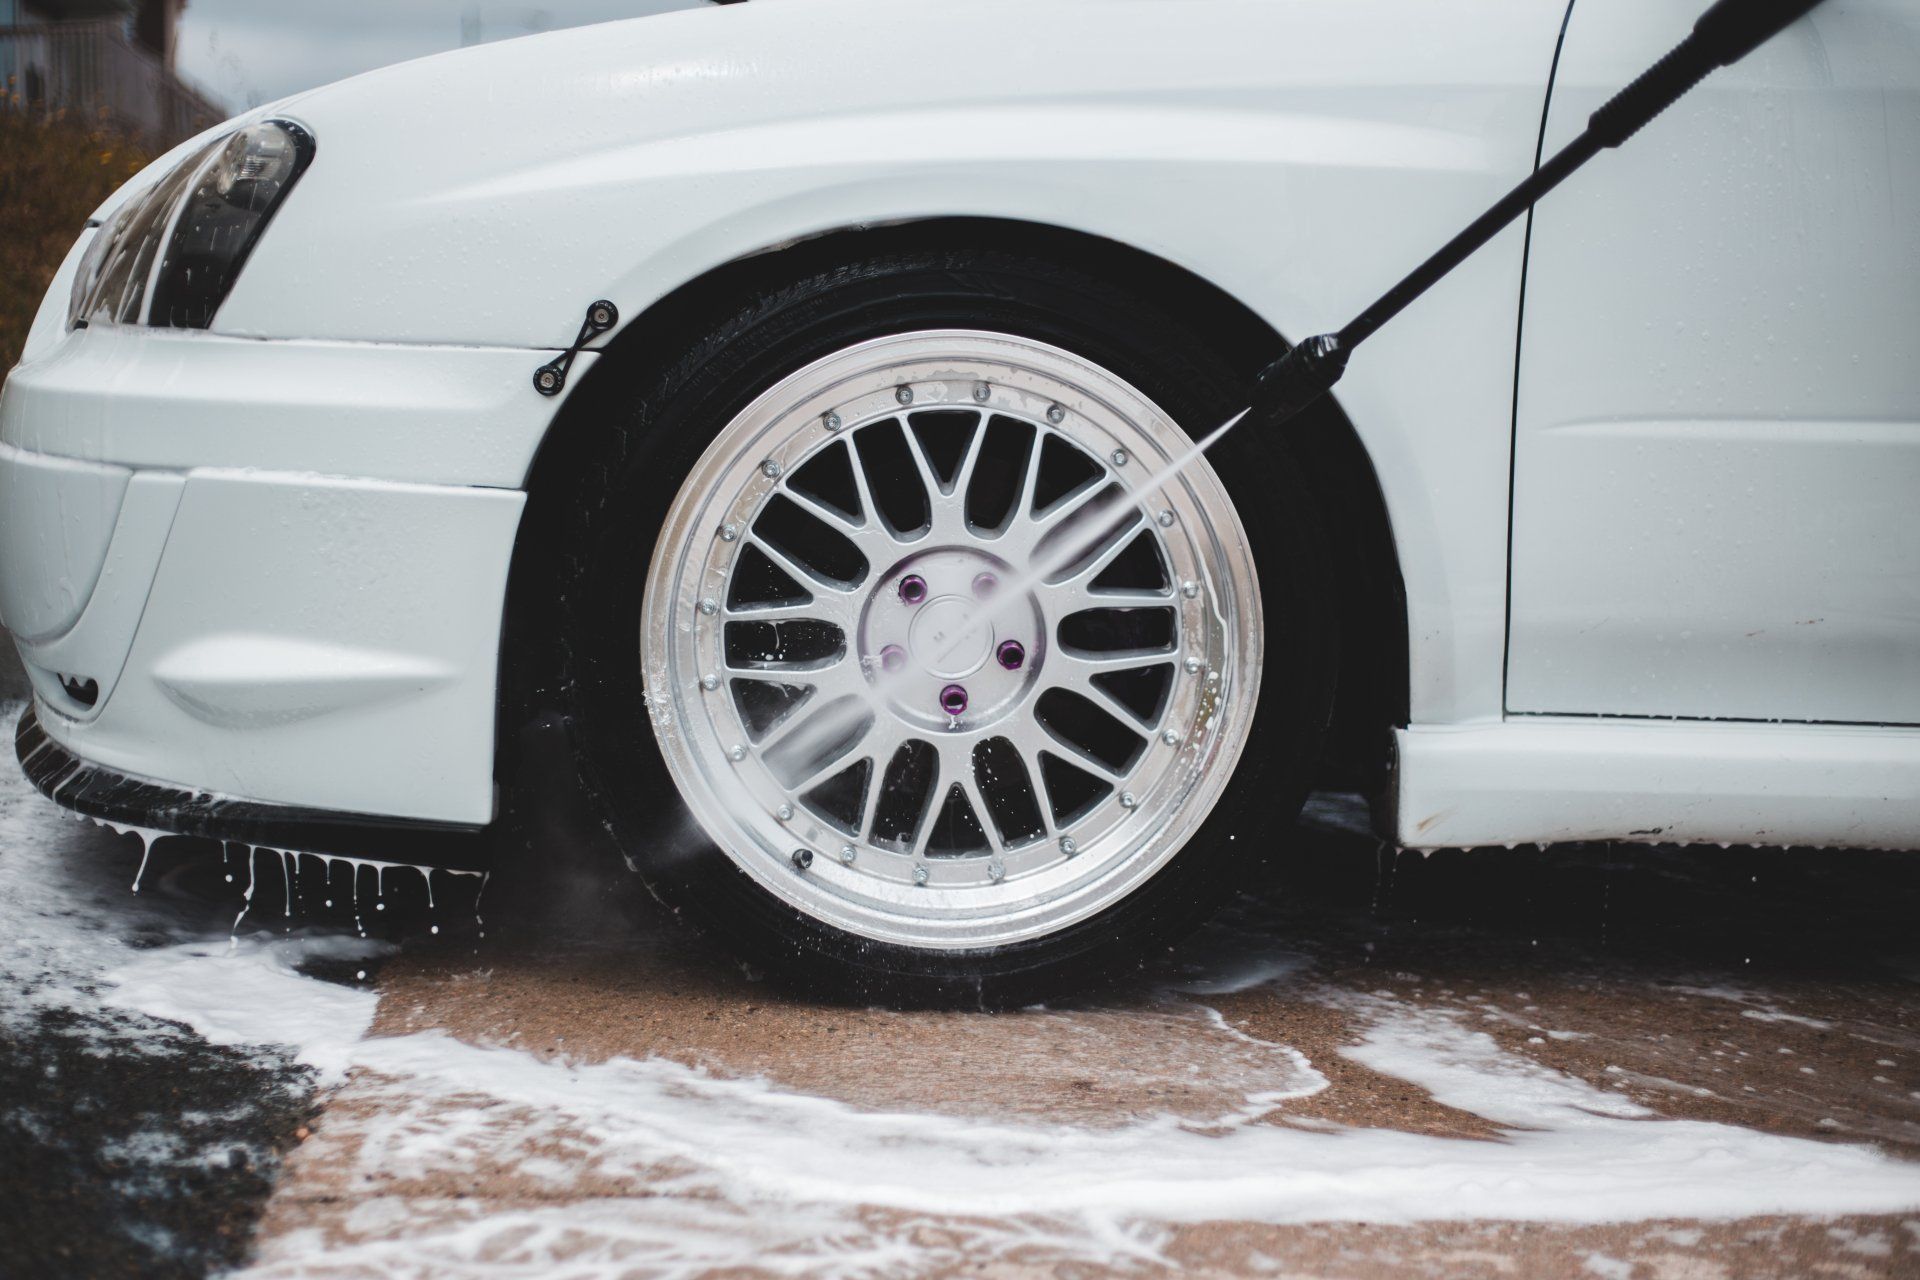
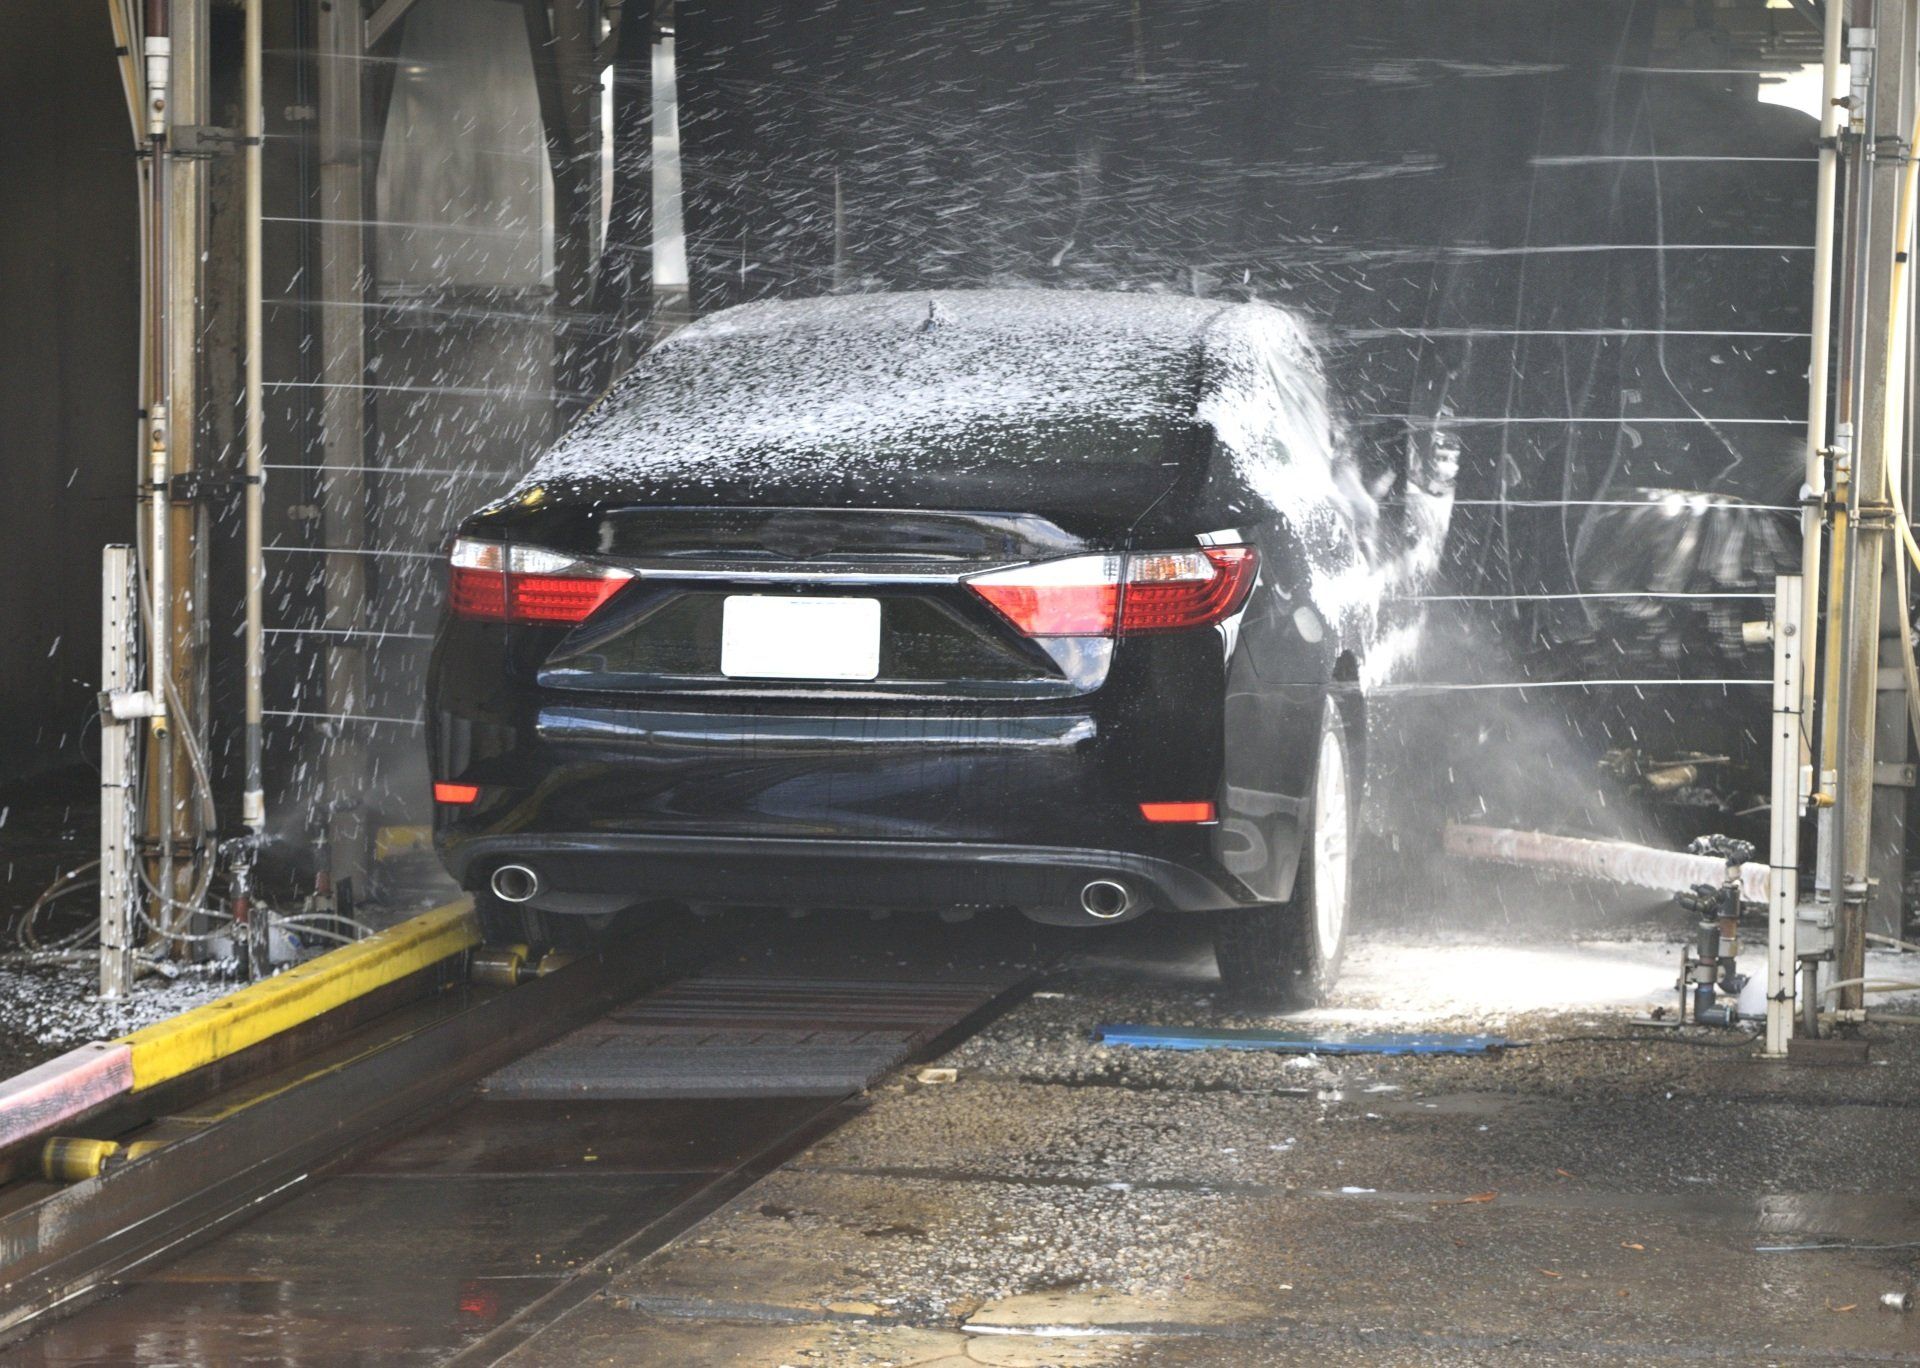
To make sure the surface is prepared for waxing, use clean water to wash your vehicle thoroughly. It is also recommended to remove dirt embedded in the car with clay bars.
It is recommended to wax your car under shade or in a garage. This will allow you to avoid exposure to direct sunlight, which could dry the wax too fast.
You must ensure that the car's surfaces are clean since the dirt left behind could result in scratches. Make use of a soft cloth for cleaning any dirt that is common, such as bird droppings, to avoid scratching your car's surface.
The next step is the application of a top automotive wax of the highest quality (or paint sealant).
Apply the Wax
Before applying the wax, take note of several types of wax available on the market today: liquid wax, spray wax, and paste wax.
The most simple option to apply is the liquid; even though the use of paste wax is more difficult and requires more time but it offers a lasting result in comparison to the other two alternatives.
No matter which option you prefer, you must select a finishing pad made of foam for applying wax. The pad should be able to absorb and soft but strong enough to withstand the pressure of the power buffer.
The first step is to attach the pad of the applicator to your machine buffer. Apply a few dots of wax liquid onto the buffer pad to form circles, and then place one large dot in between.
Then, rub the wax with a light coat on various spots on the painting the surface you're working on while the buffer is shut off. The wax will be spread across the surface and prepare it to be buffed.
Buff the Surface
Switch off the buffer of your machine, and then apply wax to the area using gentle pressure, in long straight sweep strokes.
Make sure to pass it over twice or three times; however, ensure there is sufficient wax to protect it from the risk of damage.
Also, be careful not to apply too much pressure as you don't want damage to the paint. The aim is to apply a consistent, thin layer of wax.
The intention behind the wax's purpose is to provide protection from light scratches or water spots.
Remove the Wax
Once the wax is dry (check the product you purchased for further information), use a clean microfiber cloth to take its surface. If necessary, use soapy water.
Helpful Tips:
- Make sure to use straight lines when wiping wax away to prevent scratching.
- Make use of a clean microfiber towel to remove the majority of the wax. Use another towel to remove all remaining wax.
- This should occur at the level of a thin layer, where you can still see the color of the car paint.
